
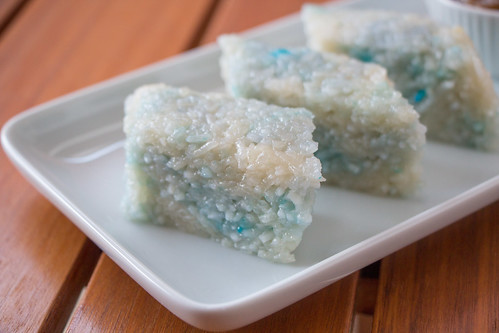
On my last trip to Malaysia, I purchased a couple of recipe books (as I usually do), one of these was Nyonya Kueh by Chef Ricky Ng. I love how cheap the books are over there and such delicious looking recipes too. Nyonya Kueh are one of my favourite Malaysian snacks, there is incredible variety with sweet and savoury delights, but I have a preference for the sweet varieties. On occasion we buy the blue glutinous rice cakes with pandan kaya from Madam Kwong’s in Box Hill but I love giving it a try and making everything from scratch. So here is my adapted recipe from Ricky Ng.
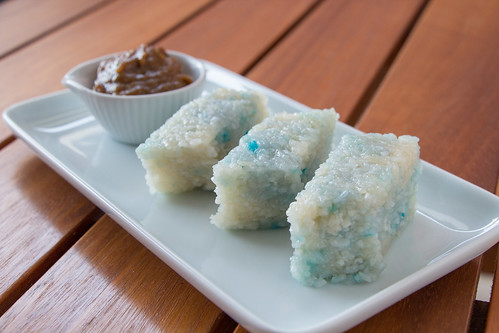
Blue Glutinous Rice Cake (Pulut Tai Tai)
Rice Cake
Ingredients
A
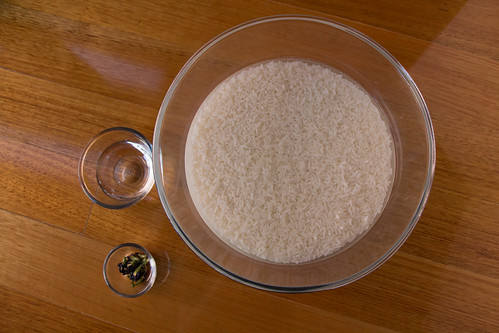
820g glutinous rice (soaked overnight)
12 bunga telang/clitoria flower (or a few drops of blue food colouring mixed with water)
a few pieces banana leaf
B
2 ¼ cups thick coconut milk
1 tsp salt
1 piece pandan leaf (knotted together) – Original recipe uses 3 pieces

C
3 tsp sugar (coconut sugar used)
a few drops pandan essence (optional)

Kaya
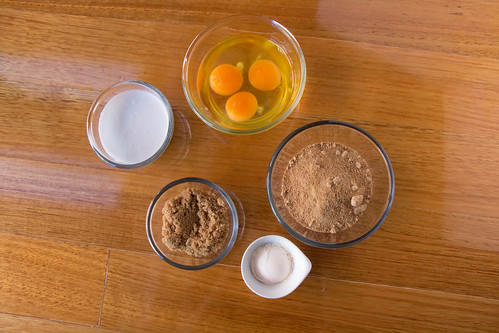
85g sugar (coconut sugar used)
35g brown sugar
3 duck eggs/eggs (chicken eggs can be used too)
1 tbsp custard powder
90ml thick coconut milk
Method
1. Pound bunga telang (blue flowers), mix with 4 tbsp of water well, and strain to get the blue colouring

2. Mix soaked glutinous rice with Ingredients B and let it rest for 5 minutes.
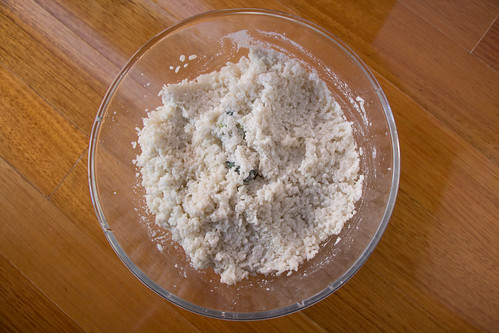
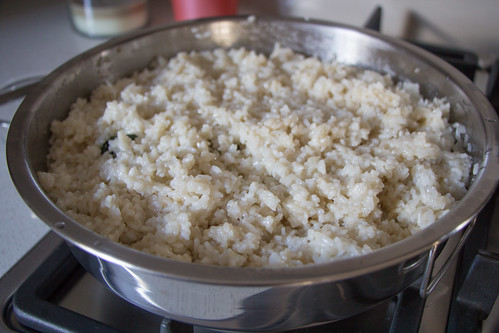
2. Steam the rice over high heat for 15 minutes. Remove from the heat and stir well with chopsticks.

3. Add in Ingredients C and mix well. Steam mixture for another 10 minutes

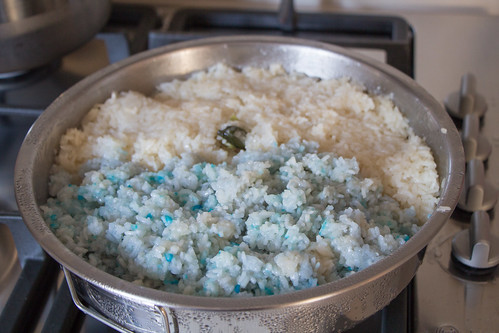
4. Add in blue colouring to ½ portion of cooked rice, mix well and steam it for 5 minutes

5. Line a 19cm square tin with banana leaves. Spoon cooked blue rice and white rice alternatively into the tin. Cover the rice with banana leaf and place a heavy object on top to compress the rice.
If you don’t have a square tin and banana leaves, you can scoop all the mixture out and place it back into the tray so it’s all mixed up a bit but you’ll also need to compress the rice in the tray too. Set it aside to cool completely before cutting into pieces. Serve with Kaya (Recipe below)

Kaya
1. Mix all the ingredients well in a pot, and if need be strain the mix to rid of any lumps.
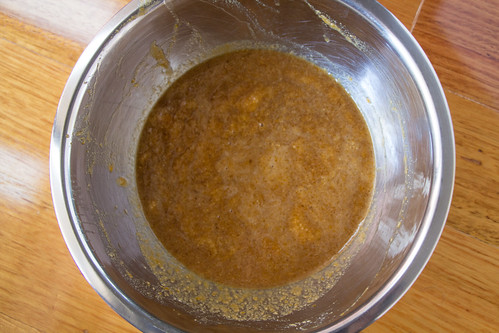
2. Place water in a pot to boil. Once the water is simmering, place a heat proof bowl on top of the pot (make sure the water does not touch the heat proof bowl) and cook until kaya mixture turns golden brown and thick. Be careful not to curdle the eggs. Stir constantly to prevent burning at the base of the pot.
Impressions
I bought some coconut sugar from Costco and thought it would be a good idea to use it in the glutinous rice as well as the kaya. Coconut sugar as a distinct taste (of coconut, duh!) but it also has this toasted coconut taste to it which might be a bit overpowering for some.
What I found was that if you soak the glutinous rice too long and/or leave the rice to steam for too long, the grains aren’t as defined. The rice appears to absorb too much of the coconut mixture or too much moisture from the steam. Flavour wise it’s great, but leaving it longer than just overnight might be overdoing it.
I also realised the colouring from the blue flowers didn’t seem to cover all the rice, so it might be good to make a bigger batch of the natural colouring mixture just in case or if you prefer a darker blue kueh.
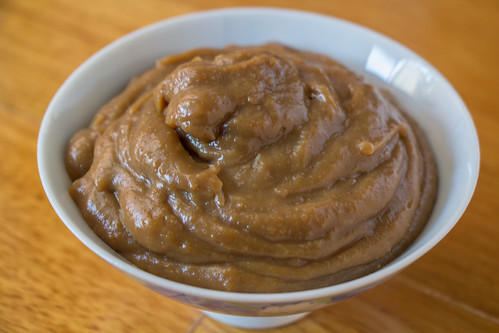
Also as a warning, making the kaya even over steaming water that doesn’t touch the bowl can still be a dangerous affair. The eggs can cook extremely quickly if you’re not careful or if you leave the flame too high. If it does look like the eggs have cooked, one little trick is to use a hand blender and give it a good mix to break it up, that allows the kaya to form a smoother paste (taste-wise it’d be the same)
Using coconut sugar in the kaya also gives the kaya a very strong toasty taste, I’d probably just opt for caster sugar next time for that more authentic taste but that’s the good thing about cooking and experimenting, food is never the same.

