I made some salted caramel for some chocolate, salted caramel cookies that didn’t turn out too well (but tasted great) so I had plenty of salted caramel left in which I had no idea what to do with it. So onwards with my Googling (how did I live without it) and I found this interesting tart from BBC Good Food. It has all the ingredients for a great tart, crunchy hazelnuts, salted caramel, chocolate and a shortcrust tart. What else would you want?
Putting it shortly, the tart turned out great, with not too much work involved but it does take some time for cooling the salted caramel or the chocolate filling and the pastry itself. So this isn’t a recipe for those a bit short on time.
Have a look at the recipe and see my impressions below!
Chocolate, Hazelnut and Salted Caramel Tart (BBC Good Food)
Prep:40 mins
Cook:45 mins – 50 mins plus cooling and chilling
Serves 12
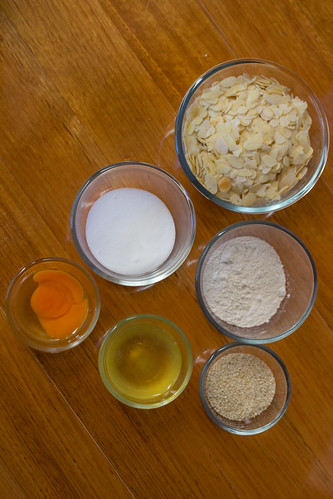
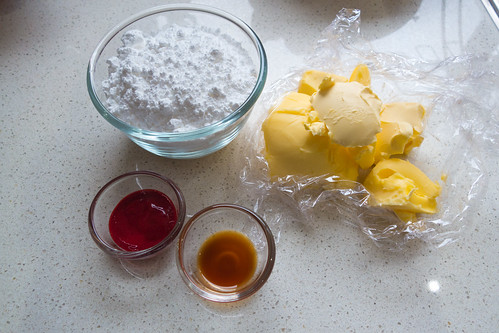
Ingredients
Hazelnut pastry
50g blanched hazelnuts
200g plain flour
1 tbsp icing sugar
140g cold butter, diced
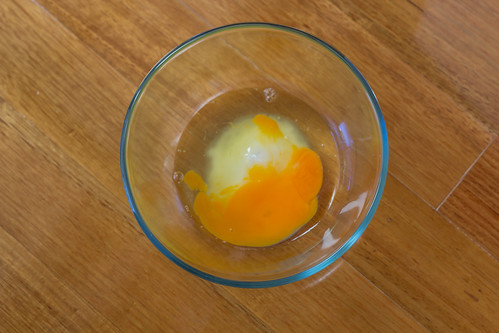
1 egg yolk
flour, for dusting
Salted caramel
75g caster sugar
25g butter
100ml double cream
1 tbsp golden syrup
large pinch sea salt flakes
Chocolate fudge filling
100g dark chocolate (70%)
75g butter
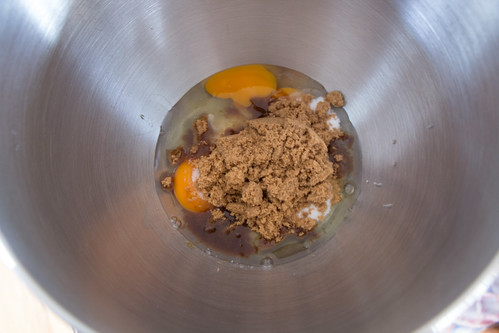
2 large eggs, plus 1 yolk
25g caster sugar
1 tbsp cocoa
50g blanched hazelnuts, toasted and roughly chopped

Method
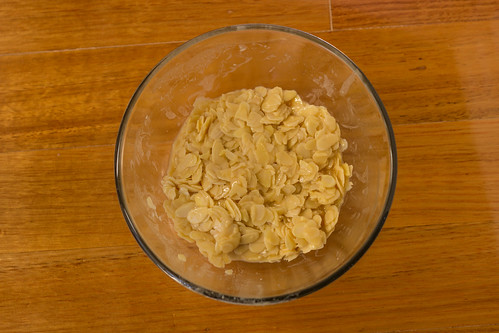
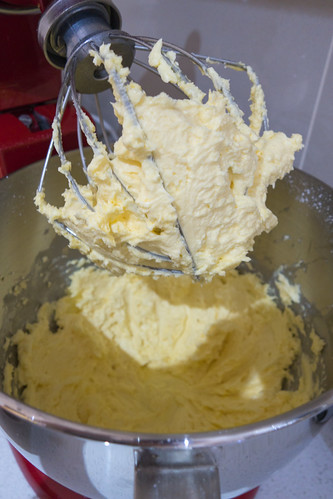
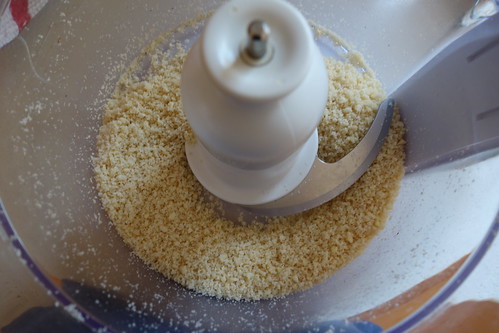
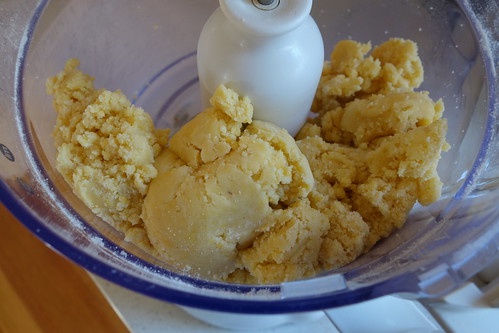
1. To make the pastry, whizz the hazelnuts in a food processor until finely ground.
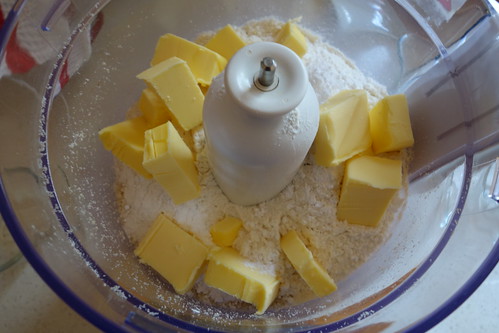
2. Add the flour, icing sugar and butter, and pulse until the mixture resembles breadcrumbs.
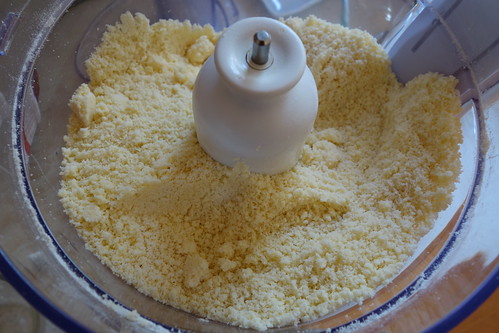
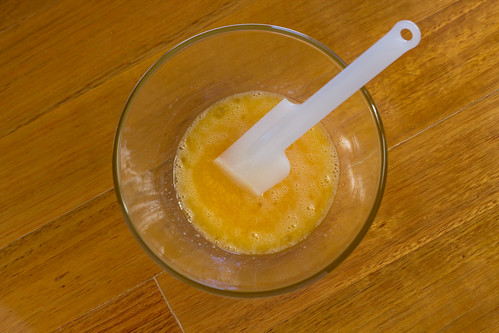
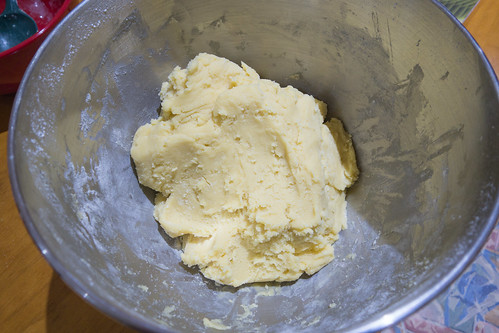
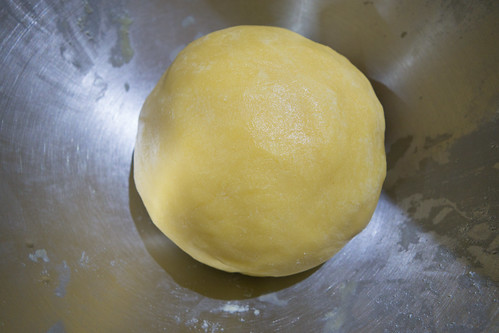
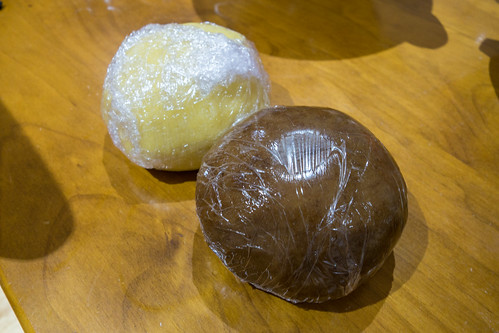
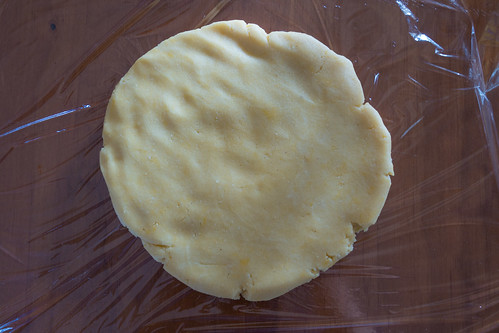
3. Add the egg yolk and 1-2 tbsp cold water, and pulse until the dough comes together. Tip the dough out and flatten into a disc, then wrap in cling film and chill for 30 mins.
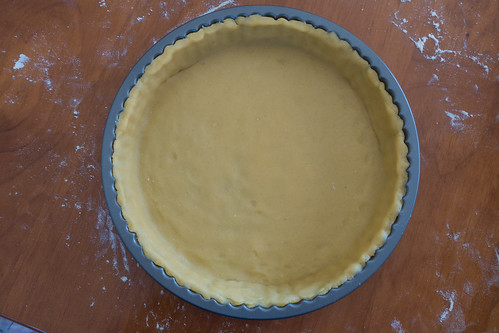
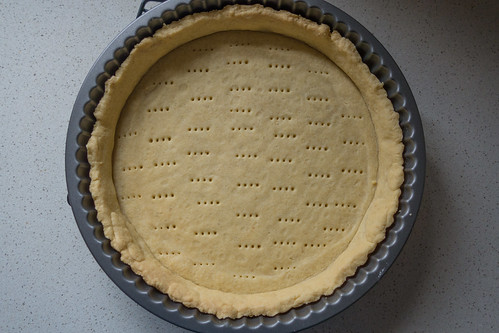
4. Heat oven to 180C/160C fan forced/gas 4. On a floured surface, roll out the pastry to line a 23cm loose-bottomed, deep tart tin. Trim the edges and prick the base with a fork, then line with baking parchment and fill with baking beans.

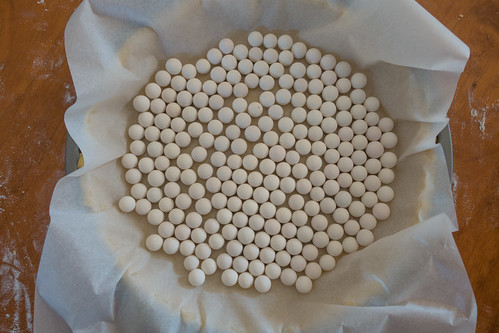
5. Bake for 20 mins, then carefully remove the baking beans and parchment and bake for a further 5-10 mins until light golden. Allow to cool.
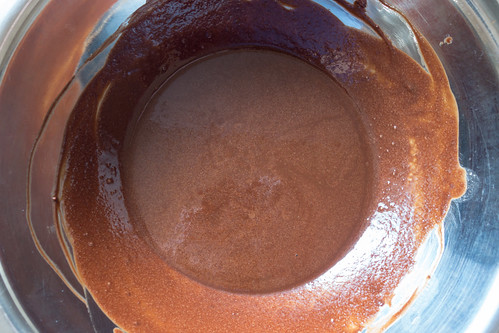
6. Meanwhile, make the salted caramel. Tip the sugar into a small pan, add 1-2 tbsp water and heat gently to dissolve the sugar. Increase the heat and cook until the sugar turns to an ambercoloured caramel.
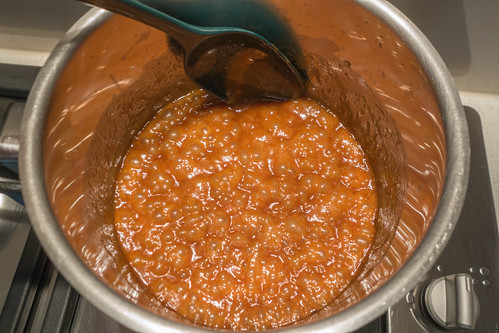
7. Reduce the heat and add the butter, cream and golden syrup, and stir until the sauce is smooth and thickened. Remove from the heat and add the salt.

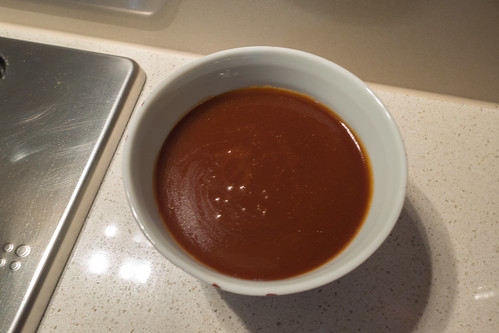
8. Allow to cool for a few mins, then spread onto the tart base. Scatter with chopped hazelnuts and set aside.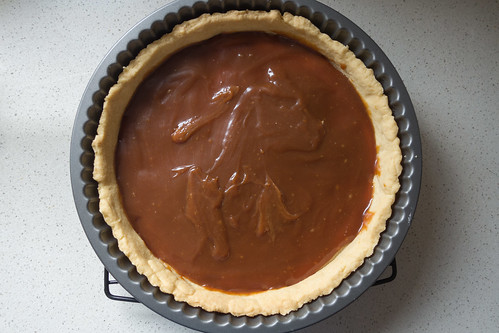

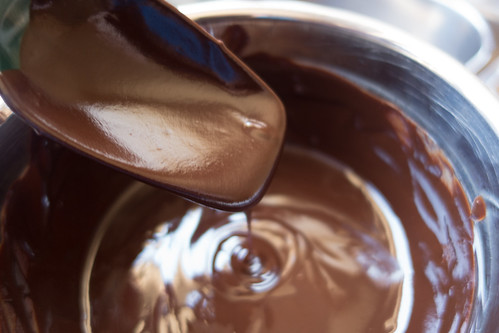
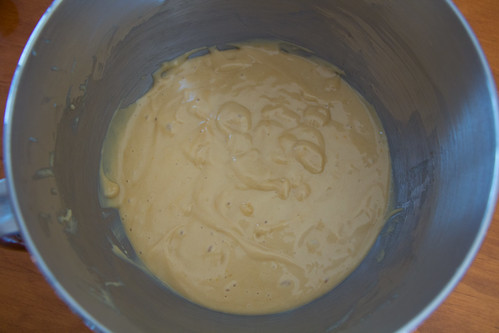
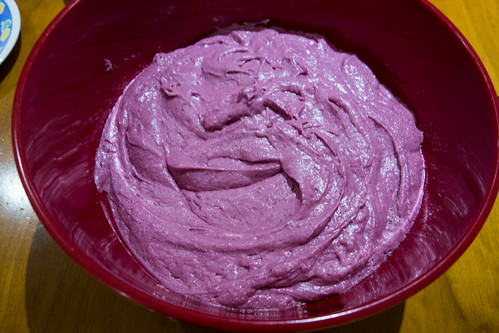
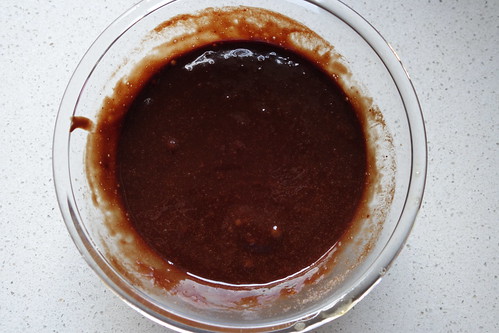
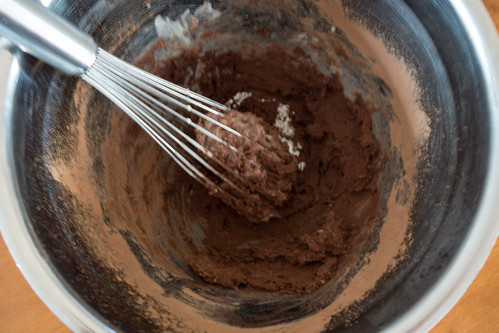
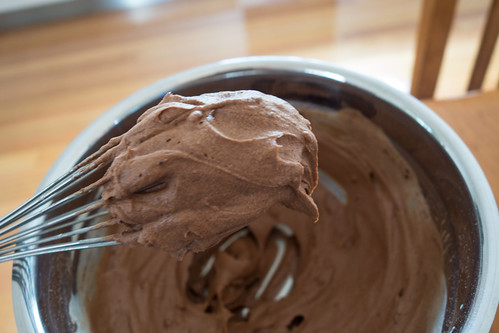
9. For the chocolate filling, melt the chocolate and butter in a heatproof bowl set over a pan of simmering water. Stir until smooth, then remove from the heat and allow to cool slightly.
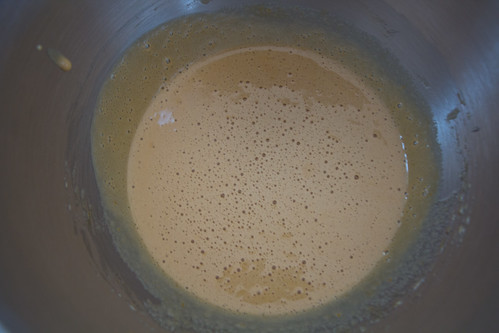
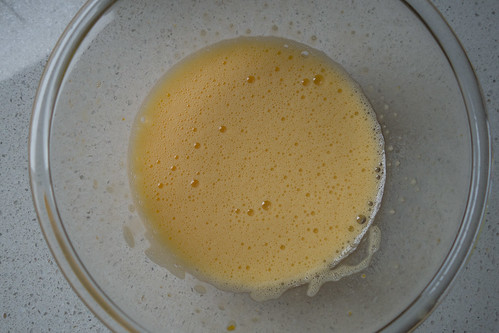
10. In a separate bowl, whisk the eggs, egg yolk and caster sugar for about 6 mins until thick and pale.
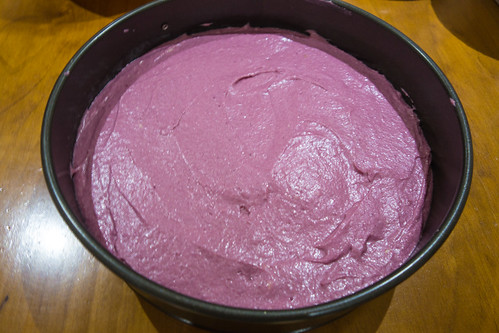
11. Fold in the melted chocolate and cocoa, then pour into the tart case.
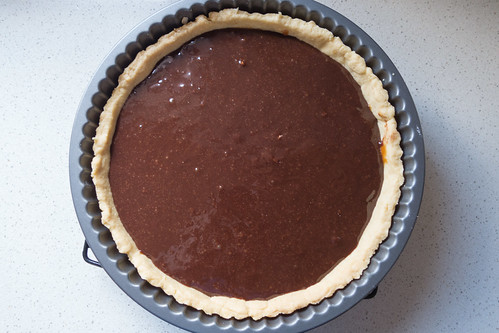
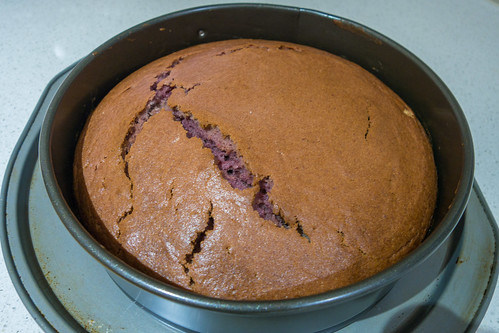
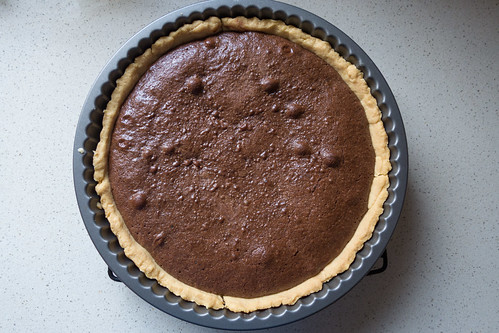
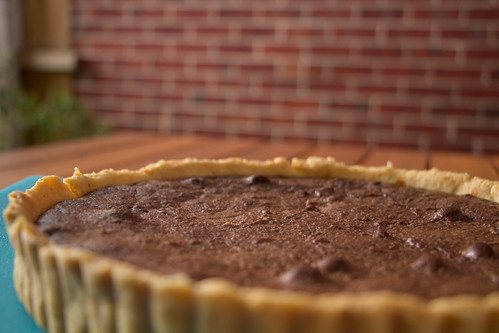
12. Transfer to a baking sheet and cook for 20-25 mins or until set and the top has formed a crust. Allow to cool to room temperature before serving in slices.
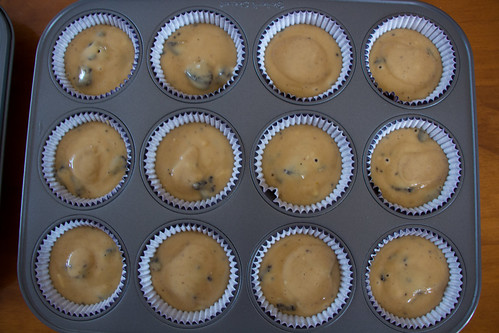
Mocha Whipped Cream (Joy of Baking)
1/2 teaspoon pure vanilla extract
2 tablespoons (35-50 grams) granulated white sugar, or to taste
2 tablespoons unsweetened cocoa powder (regular or Dutch processed)
1 teaspoon instant coffee powder or espresso powder
1 cup (240 ml) cold heavy whipping cream

Method
1. Place your mixing bowl and wire whisk in the freezer for about 15-30 minutes. Place the vanilla extract, 3 tablespoons of sugar, cocoa powder, and instant coffee powder in the cold bowl.

2. Stir in about 2 tablespoons of the cream to form a thick paste (this will dissolve the cocoa and coffee powder).
3. Then add the rest of the cream and beat just until stiff peaks form. If not using immediately, cover and refrigerate. Makes about 2 cups (480 ml) whipped cream.
Impressions
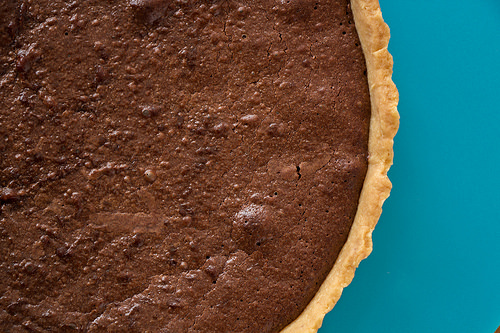
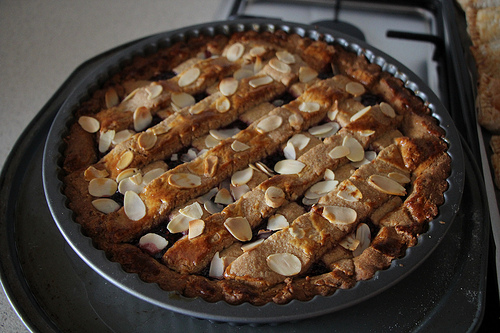
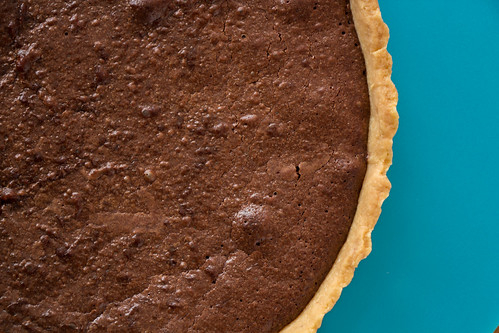
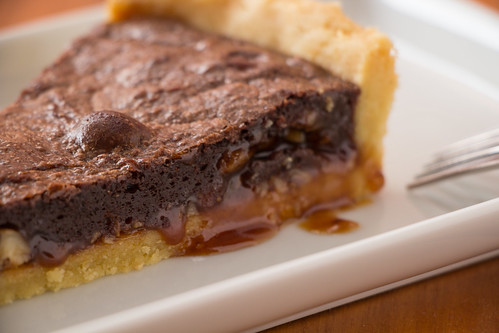
This chocolate, hazelnut and salted caramel tart is stunning. The salted caramel just oozes out when the tart is still warm, and you have a moist chocolate layer on top and a generous amount of hazelnuts in the middle.
I had leftover full cream so I decided to create my own whipped cream, and I thought of making it coffee/mocha flavoured just for something a bit different and it turned out amazing with the tart. The bitterness of the whipped cream but with a coffee hit with the buttery rich tart works exceptionally well together.
It’s not a particularly thick tart, but I think it works better that way so it doesn’t seem overwhelmingly rich. Overall, I love this recipe, not too sweet as I reduced the sugar for the whipped cream and chocolate filling, and also slightly for the salted caramel too. The salted caramel provides all the necessary sweetness and it really does its work in making it a delicious tart.