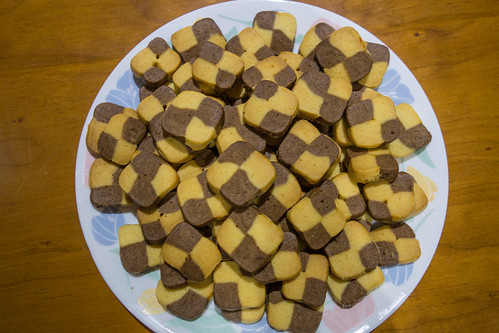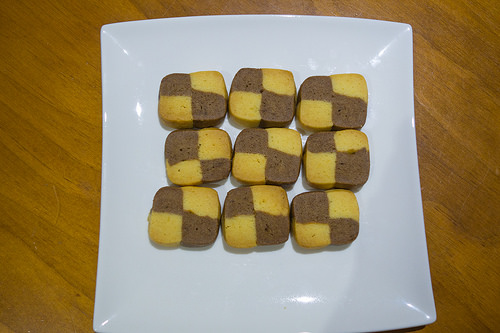
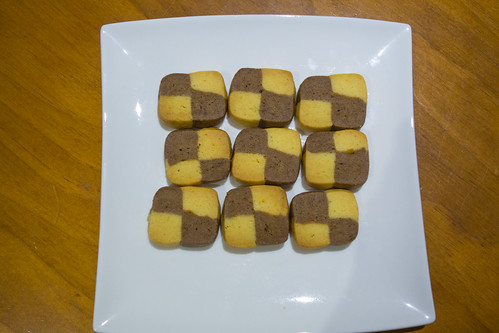
There are these checkered cookies that my mother used to buy for us as kids growing up. I love the look of the cookies with its contrasting colours and the buttery goodness of the biscuits. We received a gift of these biscuits from Malaysia one day and it spurred me to try making it myself. Not an easy task mind you. I found this wonderful recipe from Cook & Be Merry with amazing photos to boot. Being a perfectionist in this instance is probably for the better but alas I was a bit pressed for time so my “checkered” cookies were a bit more individualistic. Loved the taste of them though!
Checkered Cookies (Cook & Be Merry Recipe)
Makes: ~100 cookies
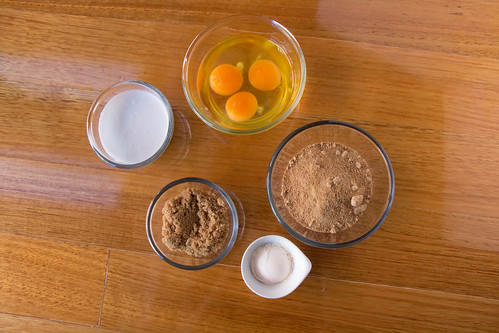
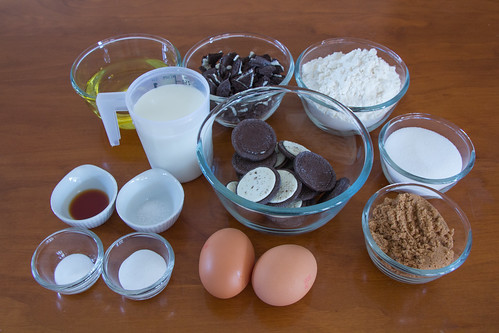
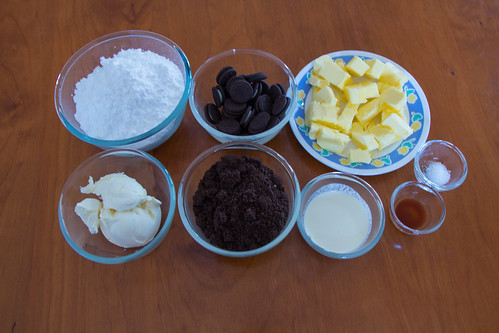
Ingredients
Vanilla Cookie Dough
170g unsalted butter
1/4 cup sugar
1/2 teaspoon salt
1 teaspoon vanilla extract
1 egg yolk (reserve egg white for brushing)
1 ½ cups all-purpose flour
Chocolate Cookie Dough
1 ½ cups all-purpose flour
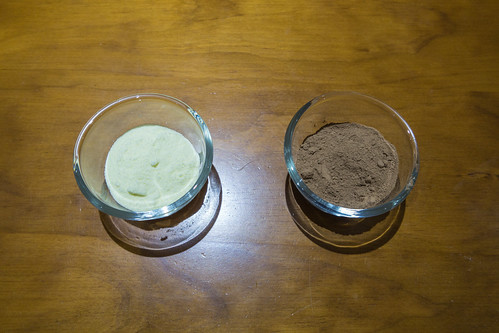
1/3 cup cocoa powder, sifted after measuring
½ teaspoon baking soda
1/2 teaspoon salt
115g unsalted butter, softened
1/4 cup sugar
1 teaspoon vanilla extract
1 large egg
1 egg white, beaten, for sticking layers of dough together
2 cookie sheets with 2 sheets parchment cut to fit sheets


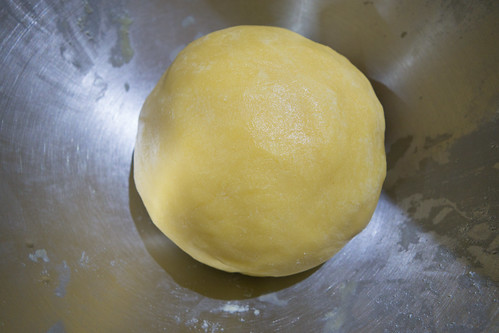
Method – Vanilla Cookie Dough
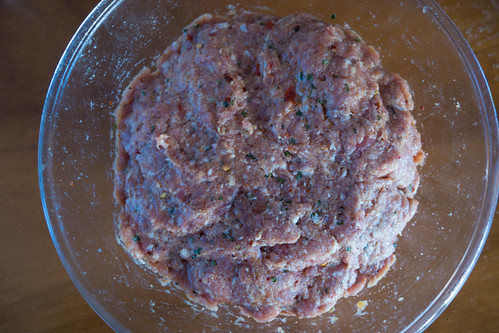
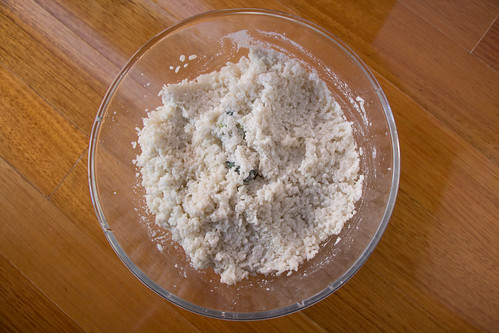
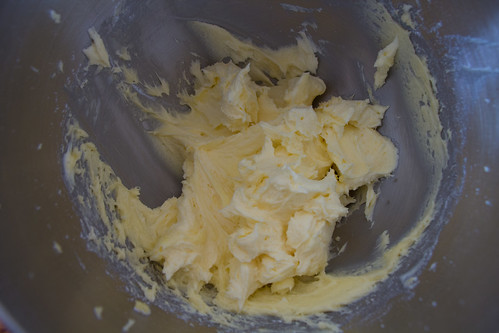
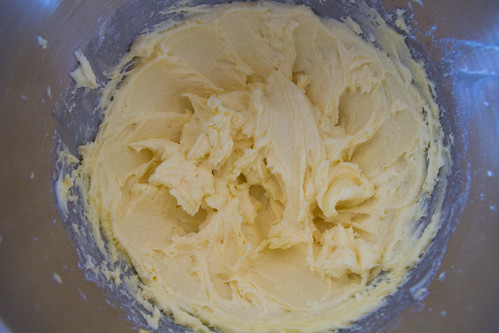
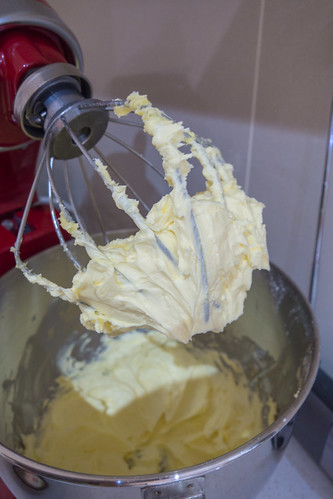
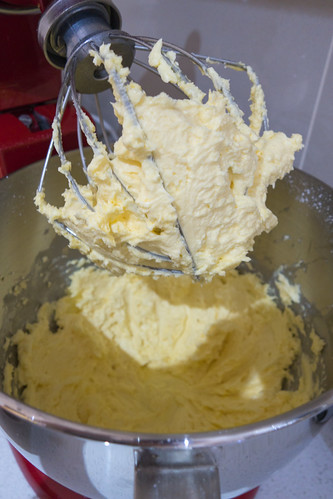
1. In a large bowl or a mixer, beat the butter, sugar and salt until well mixed, light colored and fluffy, about 2 minutes, then beat in the vanilla and egg yolk. Keep beating until very smooth, about 2 more minutes.
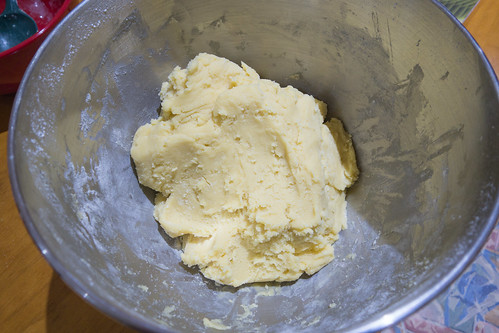
2. Scrape the bowl and beat in the flour. Cover and chill the egg white until needed.
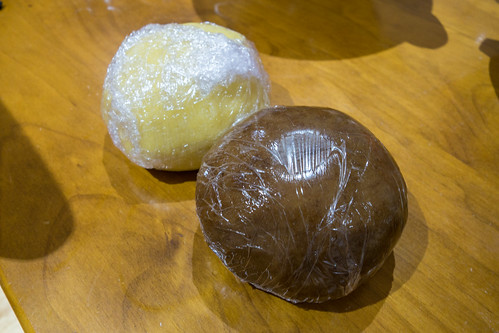
3. Scrape dough from the bowl onto a lightly floured work surface and press into a 2.5 cm (1 inch) thick square. Wrap in plastic wrap and chill until firm, several hours or up to 3 days.
Method – Chocolate Cookie Dough
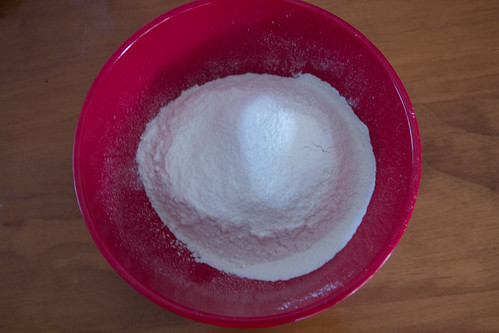
1. In a bowl, combine the flour, cocoa, baking soda and salt. Stir well with a whisk to mix.
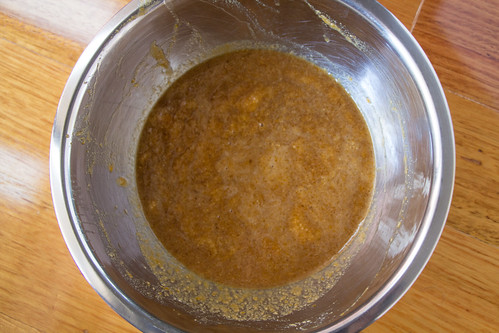
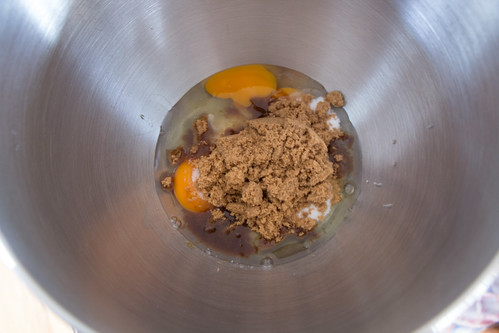
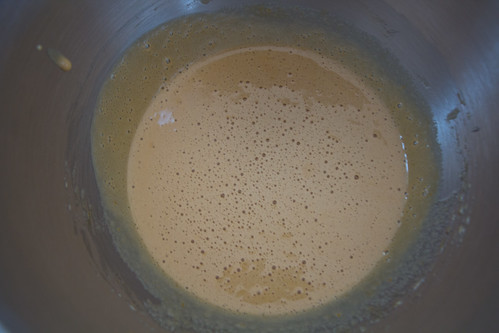
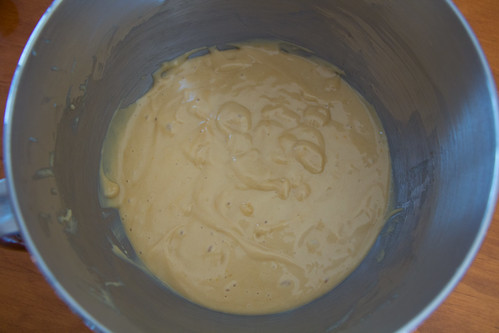
2. In a large bowl, beat together the butter and sugar with a fork until well mixed and fluffy, about 2 minutes.
3. Beat in the vanilla and egg until the mixture is very smooth, about 2 minutes longer.
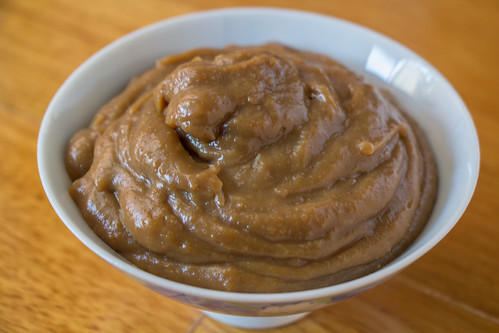
4. Mix in the flour mixture until well combined.

5. Form the dough into a ball and press into a 2.5 cm (1 inch) thick square. Wrap in plastic wrap and chill until firm, several hours or up to 3 days.
Method – Assembling the Checkers
1. Unwrap the Vanilla Cookie dough and roll it out on a floured parchment sheet on work surface into an 20×30 cm (8×12 inch) rectangle about 1 cm (3/8 inch) thick with square corners. Slide dough on parchment onto a cookie sheet, cover securely with plastic wrap and refrigerate for about 30 minutes until firm again. Do the same with the Chocolate Cookie dough.
2. Place the unwrapped vanilla dough on parchment on your work surface. Paint with the egg white and place the chocolate dough on top, parchment side up. Place a cookie sheet on the stack and gently push down so the two layers stick together.
3. Cut the dough rectangle in half through the parchment so you have two 20×15 cm (8×6 inch) rectangles. Paint the top of one rectangle with egg white and put the second rectangle on top so the four layers are alternating black and white. Press gently with pan to help stick together. With a sharp knife, trim the four sides so they are straight and square. Wrap and chill for several hours, keeping the corners square.
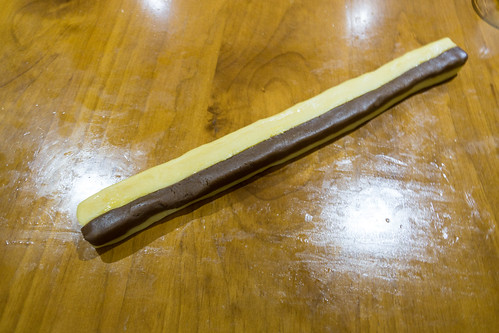
4. Place unwrapped dough stack on cutting board with the 20 cm (8 inch) side facing you. With a sharp knife, cut the 15 cm (6 inch) side into sixteen 1 cm (3/8 inch) thick slices.
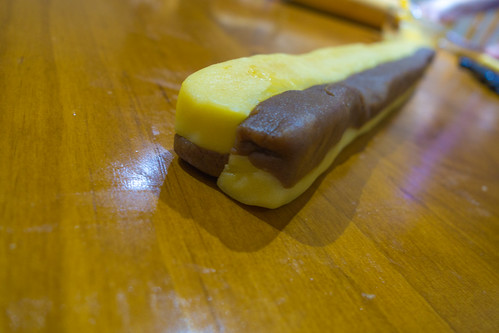
5. Place one striped slice on the cutting board and brush it with egg white. Turn the next slice over and place it on top of the first slice so the stripes are alternating in color. Repeat two more times so there are four layers with alternating colors and the end looks like a checkerboard.
6. Make three more stacks with four slices each. Wrap each stack in plastic wrap and gently press each side with the pan to square it. Refrigerate on cookie sheet for several hours or freeze for future use.
7. Preheat the oven to 170 degrees Celsius (350 degrees F) with racks in upper and lower thirds of the oven.
8. Slice the cookies to roughly 1/2 cm (1/4 inch) thick, turning the stack after each cut so it doesn’t become flat from the knife pressing down.
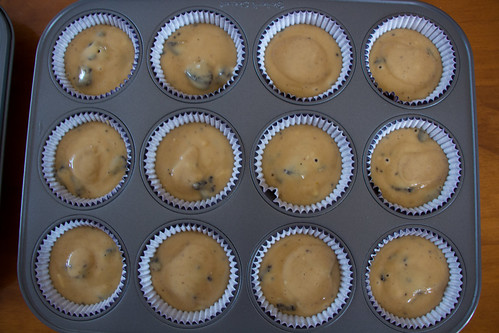
9. Place cookies on parchment covered pans one inch apart and bake for 9 to 11 minutes until firm to the touch. Slide the parchment with the cookies onto a rack or countertop to cool. Store in one layer between parchment in air-tight container.