I was thinking of something new to bake one day and I trawled through pages and pages of different cupcake ideas and recipes until eventually I found a recipe with Oreos in it. However, that particular one used a chocolate cake base which I preferred not to as I wanted to avoid a chocolate overload. So onwards I searched for the perfect Oreo cupcake recipe with icing and subsequently I found a recipe from Cook With Manali which looked absolutely beautiful that I had to give it a try. Spoiler alert: This were seriously addictive.
Oreo Cupcakes with Cookies & Cream Frosting (Cook With Manali Recipe)
Makes: 16-18 cupcakes
Ingredients
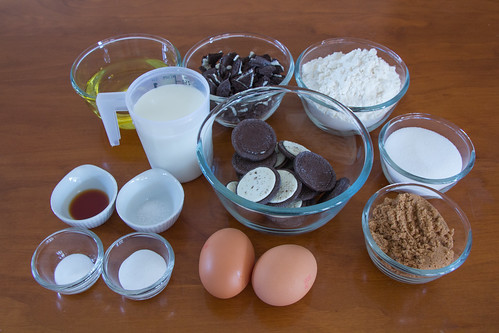
Cupcakes
1 1/2 cups all purpose flour
1 1/2 tsp baking powder
1/2 tsp baking soda
1/4 tsp salt
1/4 cup granulated white sugar
1/4 cup brown sugar
3/4 cup vegetable oil
1 cup buttermilk
1 tsp vanilla extract
1 1/4 cups Oreos (broken into small pieces) + 16-18 Oreo halves
2 eggs, at room temperature
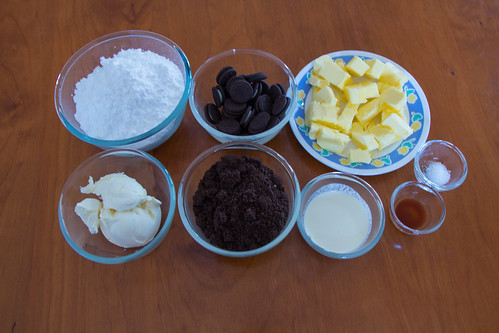
Cookies & Cream Frosting
115g cream cheese, softened
3/4 cup (170g) unsalted butter, at room temperature
3- 3 1/2 cups icing sugar
3/4 tsp vanilla extract
1/4 tsp salt
2-3 tbsp heavy cream or milk
1 cup Oreo crumbs (crushed in a blender & then strained)
Mini oreos for decorating the cupcakes
Method
Oreo Cupcakes
1. Line a muffin pan with cupcakes liners, set aside. Preheat the oven to 175 C/ 350 F degrees (Depends on your oven as I have mine at 150 C for most baking)
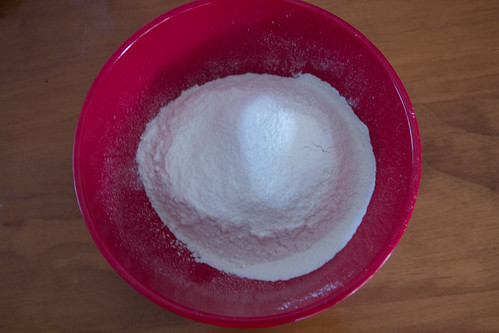
2. In a bowl sift together all purpose flour, baking soda, baking powder and salt. Set aside.
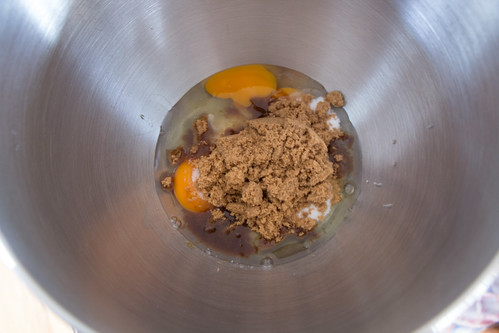
3. In the steel bowl of your stand mixer fitted with paddle attachment or using hand mixer, beat the eggs and both the sugars together till creamy & pale in colour, around 3-4 minutes.
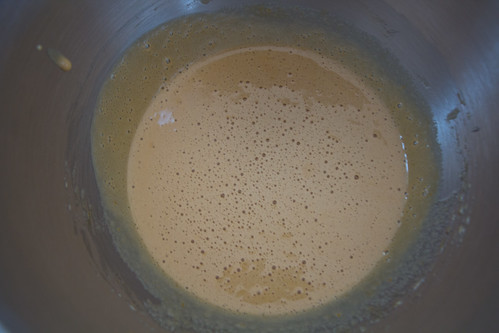
4. Add oil, vanilla and mix until combined.
5. Start adding the flour mixture and buttermilk in batches. Add the flour first, combine then add the buttermilk. Add the flour mixture in 3 parts and buttermilk in 2 parts, starting and ending with flour.
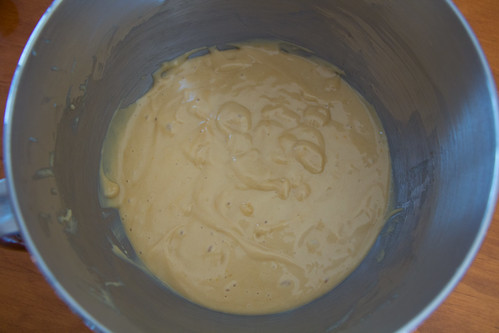
6. Mix the batter till everything is well combined but do not over mix.
7. Fold in the broken Oreo pieces, stir and combine.

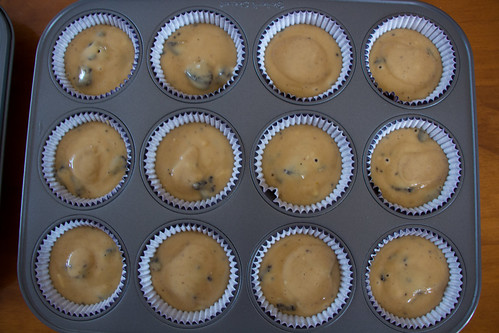
8. Place an Oreo on the bottom of each cupcake liner or twist the Oreo and put one cookie at the bottom of the pan with cream side up.

9. Fill cupcake liners 2/3 full and bake for 15-20 minutes on until a toothpick inserted in the center comes out clean. (Mine were done in 16 minutes at 150C)
10. Cool the cupcakes on wire rack before frosting them.

Cookies & Cream Frosting
1. Crush Oreos in a blender/food processor to get Oreo crumbs. Strain or sieve if needed to get rid of any bigger chunks.
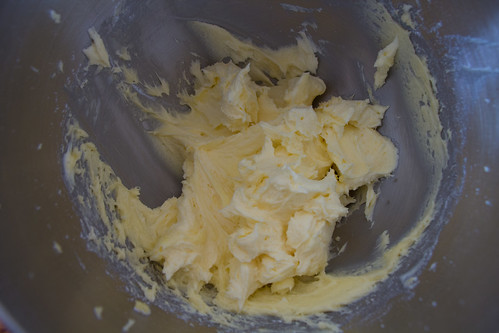
2. Using your mixer, beat butter and cream cheese together until smooth and creamy.
3. With mixture at low speed, add 1 cup of icing sugar. Mix until it’s incorporated with the butter and cream cheese and them beat it at high speed for 30 seconds. Add the remaining sugar and mix.
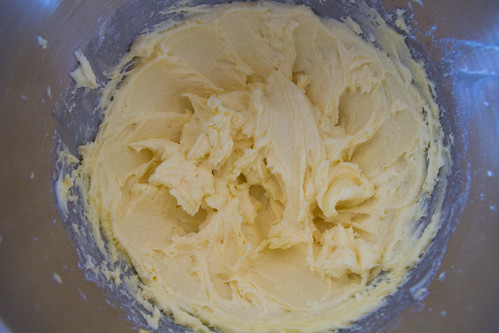
4. Add vanilla and cream/milk and mix.
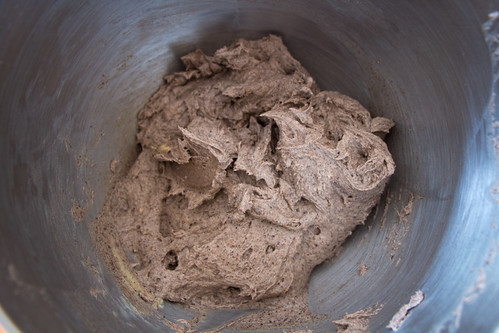
5. Add Oreo crumbs and beat till frosting is smooth and creamy.
6. Frost the cupcakes and decorate with mini oreos.
Notes
- These are vanilla Oreo cupcakes, you can make chocolate Oreo cupcakes using cocoa powder in the batter.
- Adjust the consistency of the frosting according to your preference. Add more cream for a spreading consistency, more sugar for thicker consistency to pipe flowers etc.
- You can use milk in the frosting but cream adds a wonderful rich flavour so if possible please use heavy cream.
- Do not over-bake your cupcakes. Keep an eye on them after 15 minutes.
Impressions
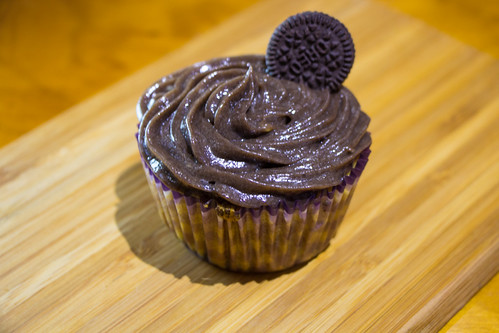
I made this for my Buddhist community celebration earlier this year and the feedback was very positive! One thing to note though was that I prepared the frosting earlier in the day and then popped it in the fridge, and I forgot to take it out again to leave it at room temperature and as you can see the frosting I made initially does not look like the end result! I over whisked the frosting and consequently the frosting turned from what was a beautiful cookies and cream frosting where you can see the white cream and chocolate cookie crumbs to a completely chocolate frosting, so please be cautious of this when making the frosting.
Other than that, I do suggest reducing the sugar, I reduced it by a third from the original recipe and I found it a bit too sweet still because the Oreos are already ridiculously sweet as you have the base as Oreos plus the Oreo pieces in each cupcake. I haven’t tried just using 1/4 brown sugar but next time I’ll give it a go and update.
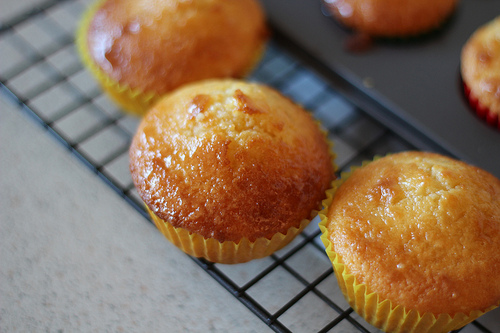
What I love about these cupcakes was the broken Oreos in the cake for some bite and also the half Oreos for the base that give it a cheesecake-like crumb base. Plus, the vanilla cupcakes itself are so moist and light. The use of oil instead of butter really makes such a difference!